
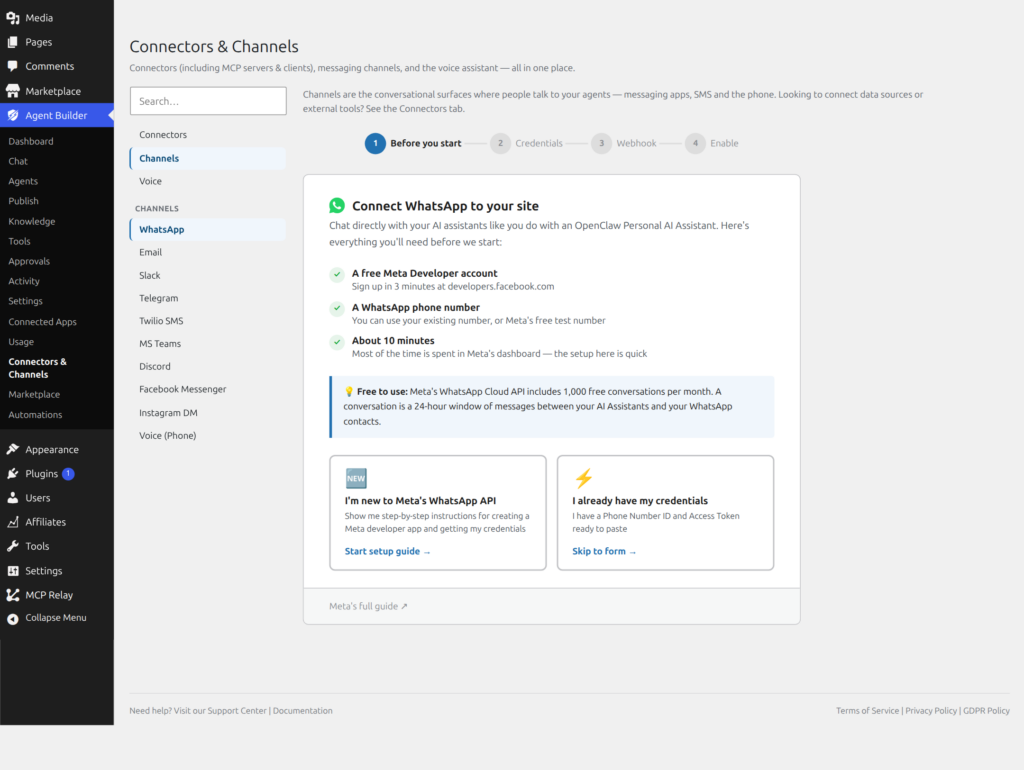
Connect an AI agent to your WhatsApp Business number and it answers customer messages around the clock — questions about your services, opening hours, order status, whatever you train it on. The WhatsApp channel is part of Agent Builder Pro and uses Meta’s official WhatsApp Cloud API, so there is no unofficial gateway and no risk of your number being banned.
Watch: Connect WhatsApp & Train a Mission-Specific Agent
Prerequisites
- A trained, customer-facing agent — one with a clear persona and real knowledge about your business, not a generic default assistant. WhatsApp is where actual customers will talk to it, so train it first: see Knowledge Wiki (OKF) for teaching it your policies, FAQs, and facts as plain markdown concepts.
- Agent Builder Pro installed and activated (Personal or Agency license)
- A WhatsApp Business number — or just use Meta’s free test number while you set things up
- A Meta developer account with an app that has the WhatsApp product enabled (free at developers.facebook.com)
- Your site reachable over HTTPS (Meta requires it for webhooks)
Setup
1. Get your Meta credentials
In the Meta App Dashboard, open your app → WhatsApp → API Setup. Note the Phone Number ID. The temporary access token shown here expires in 24 hours, so for anything beyond a quick test, generate a permanent one instead:
- Go to Business Settings → Users → System Users → Add.
- Give it a name and Employee access. Heads up: Meta’s trademark policy rejects the word “WhatsApp” in a System User name — call it something like “[Your Business] API Integration” instead.
- Assign the System User two assets: your app (Develop app role is enough), and your WhatsApp Business Account (Phone numbers + Messages access).

Then click Generate token, select the whatsapp_business_management and whatsapp_business_messaging permissions, and choose no expiration. Copy the token immediately — Meta will not show it to you again once you navigate away.
2. Enter the credentials in Agent Builder
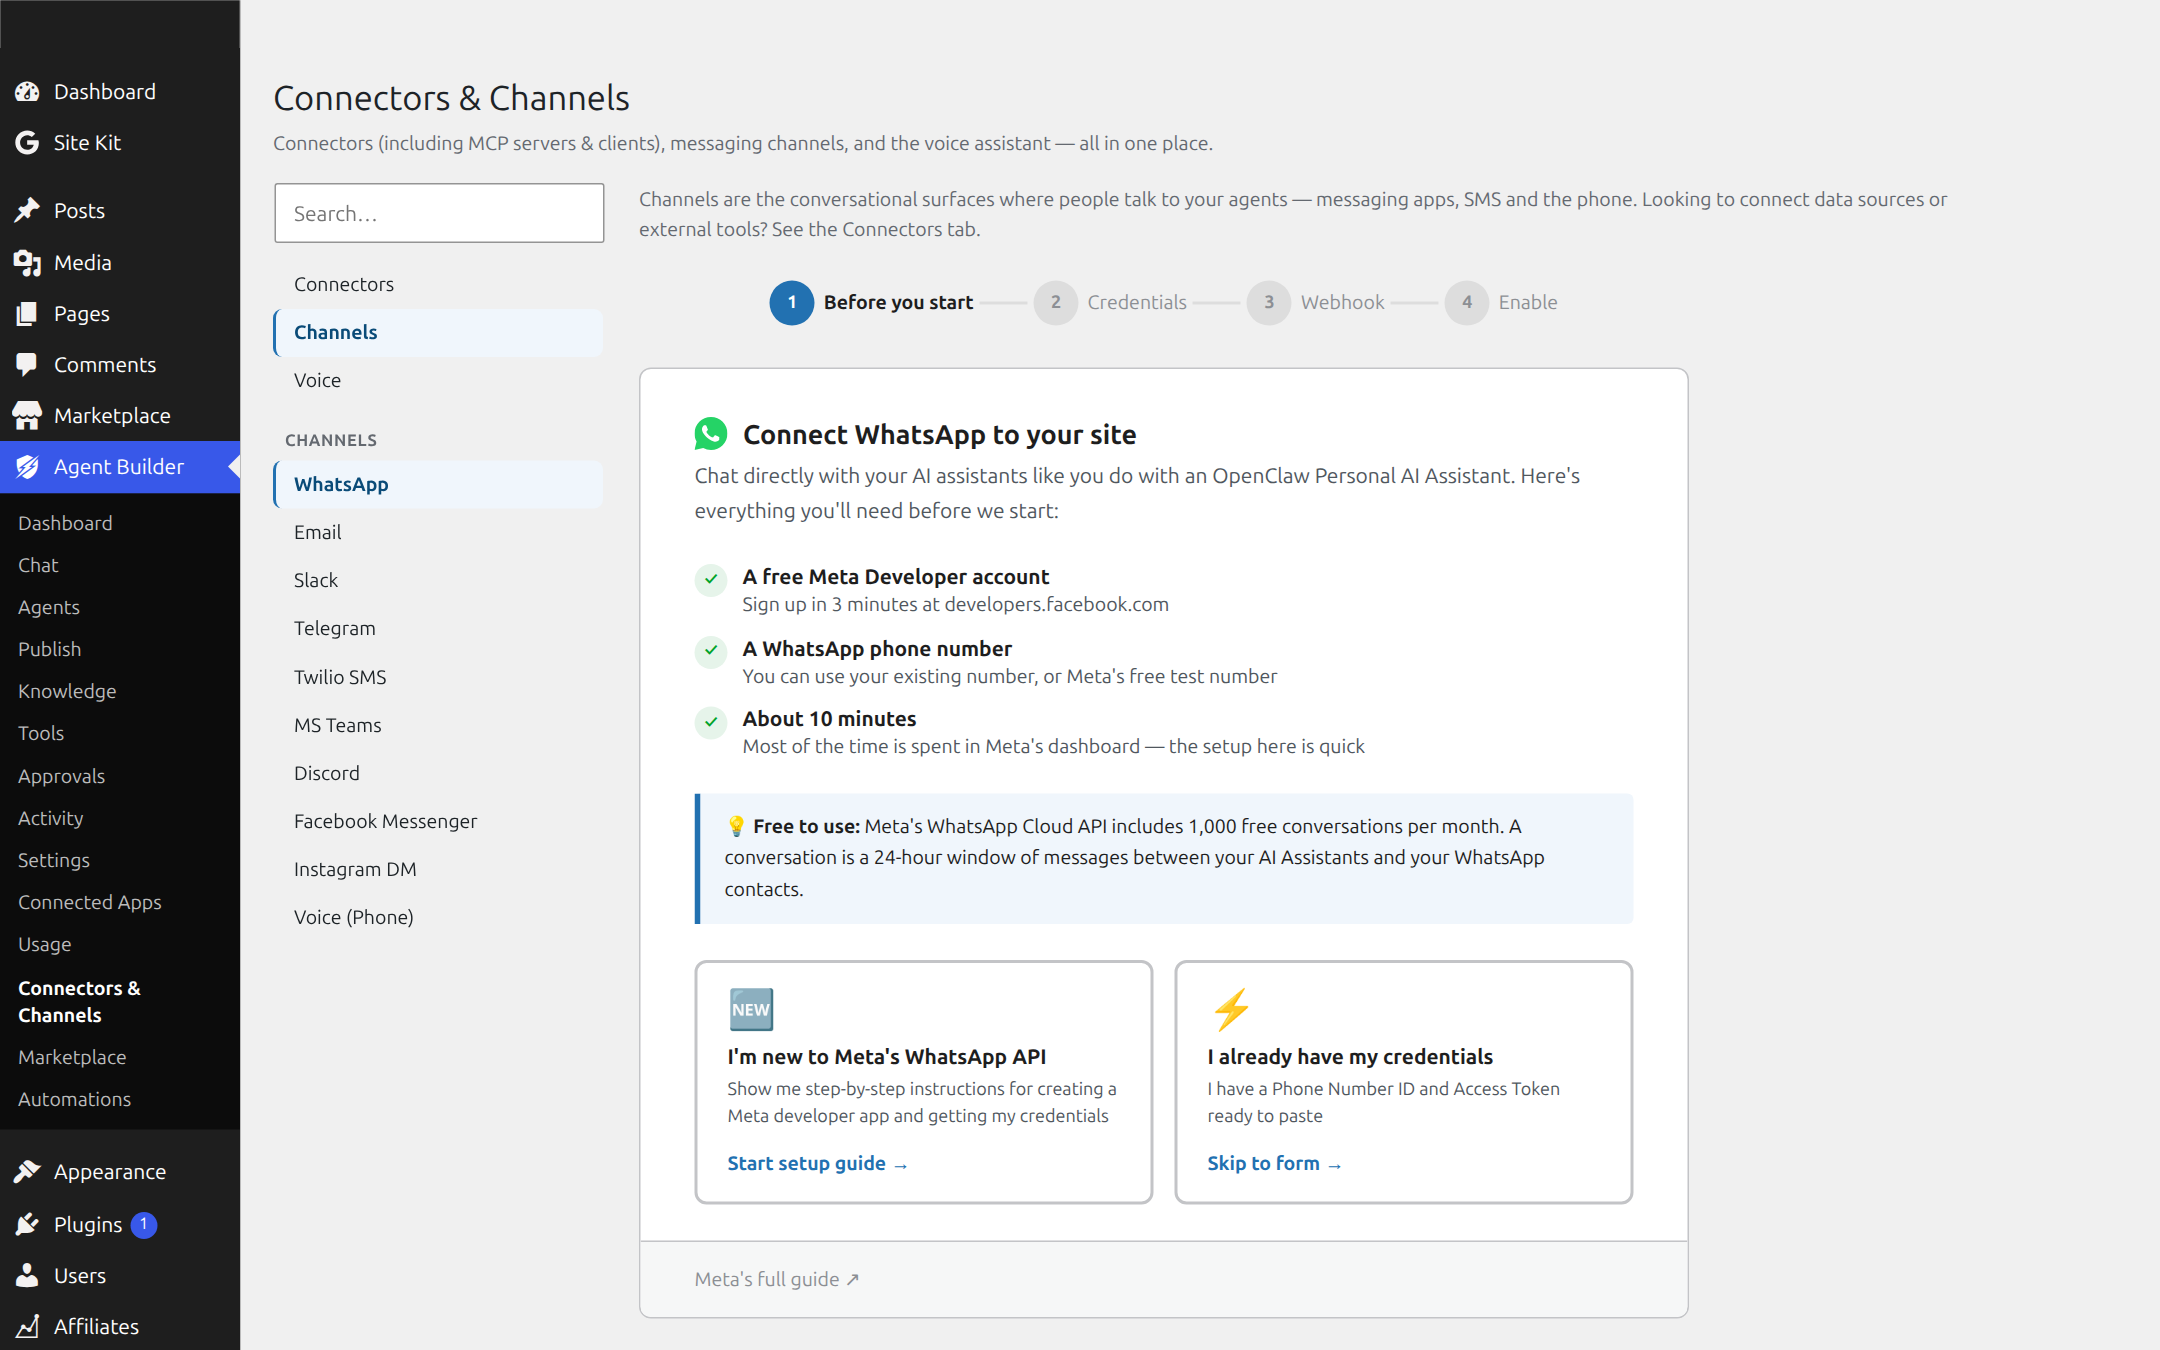
In your WordPress admin go to Agent Builder Pro → Connectors & Channels → Channels and open the WhatsApp section. Fill in:
- Phone Number ID — from the Meta API Setup page
- Access Token — your permanent System User token (stored encrypted in your database)
- App Secret — from Meta App Dashboard → App Settings → Basic → App Secret (click “Show”); used to verify that incoming webhooks really came from Meta
- Verify Token — any random string you invent; you will paste the same value into Meta in the next step
- Default Agent — the agent that answers messages not routed to a specific agent

Do not skip the App Secret. It’s marked optional in the form, but it is the single value Meta uses to sign every webhook it sends you. Get it wrong — a typo, a stale copy from before you rotated it in Meta — and every real message is silently rejected with no visible error anywhere in WordPress, while the rest of the setup looks completely correct. See Troubleshooting below.
3. Point Meta at your webhook
Back in the Meta App Dashboard, open WhatsApp → Configuration and add a webhook:
- Callback URL:
https://your-site.com/wp-json/agentic/v1/whatsapp/webhook - Verify Token: the same string you entered above

Click Verify and Save, then scroll down to Webhook fields and subscribe to messages — that’s the only one you need; everything else on that long list can stay off.

4. Publish your Meta app
This step is easy to miss because nothing forces you to do it before the rest of the setup “works” — but skip it and no real message will ever reach your site. Notice the warning banner in the screenshot above: while your app is unpublished, Meta only delivers test webhooks triggered from its own dashboard — not real messages, not even from you as the app’s own admin. Everything else can be configured perfectly and it will still look completely broken.
To publish: in the Meta App Dashboard, go to App Settings → Basic and fill in a Privacy Policy URL (Terms of Service and Data Deletion URLs too, while you’re there), then go to Publish in the left menu and click Publish. If your app only uses Standard-access permissions — which is the case for a normal WhatsApp Cloud API setup — this does not require a Meta App Review submission; it’s a one-click step once those URLs are filled in.
5. Enable WhatsApp per agent
Open the agent you want on WhatsApp and enable the WhatsApp channel in its settings. You can also restrict which phone numbers may talk to your agents with the Allowed Phones allowlist — handy while testing.
One more setting worth checking here: an agent’s Autonomy level (under its Capabilities settings). “Supervised” pauses and waits for an admin to approve certain actions before taking them — fine for a chat widget with someone watching, but on WhatsApp there’s no one to click Approve. If your agent needs to do anything beyond replying with text (like escalating to a human), set it to Autonomous, or that action will just silently stall the first time a real customer triggers it.
Also check Settings → Security → Allow anonymous chat. Every WhatsApp customer is, by definition, not logged into your WordPress site — and this one site-wide setting, off by default, gates every unauthenticated surface at once (WhatsApp included). It’s easy to build and test an agent entirely as a logged-in admin, have it work perfectly, and then find it never responds to a real customer at all. This is unrelated to anything in Meta’s dashboard, so nothing there will point you at it.
Expected result
Send a WhatsApp message to your business number. Your default agent replies within a few seconds. Inbound images and other media are fetched from Meta and processed by the agent (very large files are rejected). Conversations appear in Agent Builder → Activity like any other chat, and customers can be handed off to a human with the live-chat handoff console.
Troubleshooting
- Everything looks configured but no message ever arrives, even a delivered one — by far the most common cause: your Meta app is still unpublished. Check Meta App Dashboard → Publish. While unpublished, Meta drops every real webhook and only sends test ones triggered manually from its own dashboard — your phone will show the message as delivered, but nothing reaches your site. See step 4 above.
- The webhook fires and your logs show the message came in, but no reply is ever sent — check Settings → Security → Allow anonymous chat. It’s off by default and blocks every unauthenticated caller, WhatsApp included, even though a logged-in admin testing the same agent in wp-admin sees no problem at all. See step 5 above.
- Meta webhook verification fails — the Verify Token in Meta must exactly match the one in Agent Builder; also confirm your site has no maintenance-mode or coming-soon plugin intercepting the request.
- Webhook calls arrive but always return a 403, and messages never process — this is a wrong or stale App Secret. Because Meta signs every webhook with it, even one wrong character makes every single call fail signature verification identically, forever, with no other symptom. Recopy it fresh from Meta App Dashboard → App Settings → Basic → App Secret and re-save it in Agent Builder — if you ever rotate the secret in Meta, you must update it here too, or the two silently drift apart.
- Messages arrive but no reply — check that a Default Agent is selected and that your access token has not expired (temporary tokens last 24 hours; use a System User token instead, per step 1).
- A tool call or handoff never completes on WhatsApp — check the agent’s Autonomy setting. “Supervised” agents pause for an admin approval that WhatsApp has no way to provide; set the agent to Autonomous (see step 5).
- Replies not delivered — the Phone Number ID must belong to the WhatsApp Business account that owns the number; test numbers in Meta’s dashboard have a 5-recipient limit.
Related
- Slack Channel and Email Channel — other ways customers can reach your agents
- All channels — Telegram, Discord, Teams, SMS and more
- Built-in Assistants
- Documentation