Something not working the way you expect? This page covers the most common problems and how to resolve them.
The assistant isn’t responding
Check your API key first. Go to Agent Builder → Settings → Providers. If the AI provider field is set correctly but you still get no response, the most likely cause is an invalid or expired API key. Delete the key, save, re-enter it from your provider dashboard, and save again.
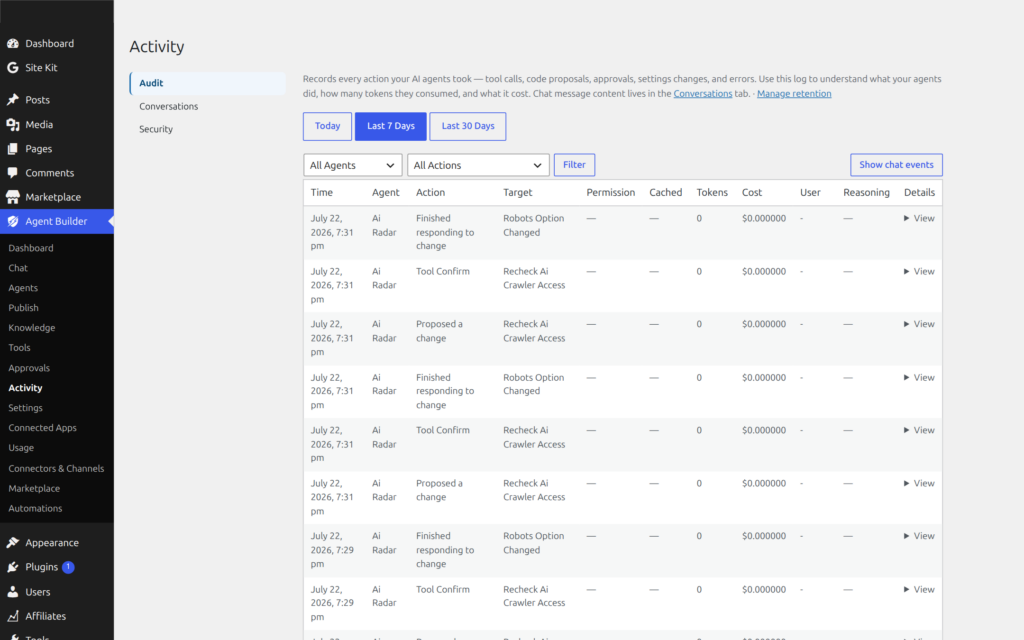
Check the Audit Log. Go to Agent Builder → Activity and filter by the assistant you were using. Look for a task_error or chat_message entry with an error detail. The error message from the AI provider (for example “Incorrect API key” or “Insufficient quota”) is recorded here.
Check that the assistant is activated. Go to Agent Builder → Installed Agents. If the assistant shows as Inactive, click Activate.
Check your WordPress hosting environment. Agent Builder uses PHP’s cURL extension to communicate with AI providers. Most hosts support this, but if yours doesn’t, you will see a connection error in the Audit Log. Contact your host and ask them to enable cURL.
I’m getting an API error message
The most common API errors and what they mean:
| Error | Cause | Fix |
|---|---|---|
| 401 Unauthorized | Your API key is wrong or has been revoked | Log in to your AI provider’s dashboard, generate a new key, and save it in Settings → Providers |
| 429 Too Many Requests | You’ve hit your provider’s rate limit or run out of credit | Check your usage and spending limits on the provider dashboard. Add credit if your balance is empty. |
| 500 / 503 | The AI provider’s servers are temporarily down | Wait a few minutes and try again. Check your provider’s status page (e.g. status.openai.com). |
| Context length exceeded | Your conversation or the content being processed is too large for the model | Start a new chat session. If this happens repeatedly on a specific task, the assistant may need to work with smaller chunks of content. |
| Invalid model | The model name in Settings → Providers doesn’t exist for your chosen provider | Go to Settings → Providers, clear the model field, and save — the plugin will use the provider’s default model. |
My scheduled task didn’t run
Scheduled tasks use WordPress’s built-in scheduling system (WP-Cron). This system runs tasks in the background — but only when someone visits your site. If your site gets very little traffic, tasks may be delayed or skipped.
Step 1 — Confirm the task is registered. Go to Agent Builder → Publish → Scheduled Tasks. The Status column should show a green “Active” indicator. If it shows “Not Scheduled”, deactivate and reactivate the assistant to re-register its tasks.
Step 2 — Check the Audit Log. Filter by your assistant and look for task_start or task_error entries. If you see a task_error, the task ran but failed — the error detail will tell you why.
Step 3 — Check for WP-Cron being disabled. Some hosting environments and performance plugins disable WP-Cron. If it is disabled, tasks will never run. Check your wp-config.php for a line like define('DISABLE_WP_CRON', true). If this is present, either remove it or ask your host to set up a real server cron job to call wp-cron.php on a schedule.
Low-traffic sites: If your site receives few visitors, consider having your host set up a server-level cron job that calls https://yoursite.com/wp-cron.php?doing_wp_cron every 15 minutes (replace yoursite.com with your actual domain). This is more reliable than relying on visitor traffic to trigger scheduled tasks.
How do I undo something an assistant changed?
How you undo a change depends on what kind of change was made.
File changes (theme or plugin files)
Before any file is overwritten, Agent Builder saves a backup to wp-content/agentic-backups/. Filenames include the original path and a timestamp. To restore a file, connect to your site via SFTP or a file manager, navigate to wp-content/agentic-backups/, find the most recent backup of the file you want to restore, and copy it back to the original location.
Post or page content
WordPress automatically saves revision history for posts and pages. Go to the post in your editor, click Revisions in the sidebar, and restore an earlier version.
Settings changes
The Audit Log records every modify_option action with the option name. If you know which setting was changed, go directly to that Settings page in WordPress and fix it manually. For complex configuration, a site backup tool (such as UpdraftPlus) is the safest way to roll back.
Preventing this in future
Keep Agent Mode set to Supervised (the default) in Settings → Agents. In Supervised mode every proposed change appears in the Approvals for your approval before anything is committed. Autonomous mode bypasses this safeguard.
I changed my API key and now nothing works
After saving a new key, the plugin caches the connection status for up to 72 hours for performance. To force an immediate re-check:
- Go to Agent Builder → Settings → Providers
- Re-enter the new key and click Save Settings again (even if it already shows the new key)
- Open a new chat in Agent Builder → Agent Chat and send a test message
If the error persists, go to Agent Builder → Activity and look at the most recent error entry. The raw error message from the provider will indicate whether the key itself is wrong, or whether there is a billing/quota issue on your provider account.
My license key isn’t activating
Check the following in order:
- Copy/paste carefully. License keys are case-sensitive. Copy the key directly from your purchase confirmation email, not from a note where you may have retyped it.
- Check for a space. Some email clients add a trailing space when you copy text. Clear the field and type even one character before pasting to avoid this.
- Activations limit reached. Personal licenses allow one active site at a time. If you moved the plugin to a new site without deactivating on the old one, the limit is already used. Log in to My Account, deactivate the previous site, and try again. Alternatively use the Deactivate button in Settings → Account on the old site.
- Expired license. The Settings → Account tab will show the expiry date. Visit our pricing page to renew.
Installing an assistant ZIP file fails
If the upload fails with a license error, the assistant ZIP contains a .license file that could not be verified. This means either:
- The license token was already activated on a different site — contact the marketplace seller or our support team to reset it
- The ZIP was downloaded for a different email address than the one registered on your site — re-download from My Account using the correct account
If the upload fails with a generic WordPress error (“The package could not be installed”), check that your WordPress installation has write permissions to wp-content/agentic-agents/. Your host may need to adjust folder permissions.
The chat widget isn’t showing on my site’s front end
The front-end chat widget only appears when Allow anonymous chat is enabled in Settings → Users. If that toggle is off, the widget is hidden for all visitors (logged-out users).
If anonymous chat is enabled but the widget still isn’t visible:
- Make sure at least one assistant is activated in Installed Agents
- Clear any page caching plugin (WP Rocket, W3 Total Cache, etc.) — cached pages may not include the widget
- If you are using a custom theme, check that it calls
wp_footer()near the closing</body>tag — the widget is injected there
Still stuck?
If none of the above resolves your problem, the best next steps are:
- Check the FAQ for additional common questions
- Search our Support page — your problem may already have a solution thread
- Open a Support request — include the relevant section from your Audit Log (Agent Builder → Activity, filter by the affected assistant, copy the error detail)