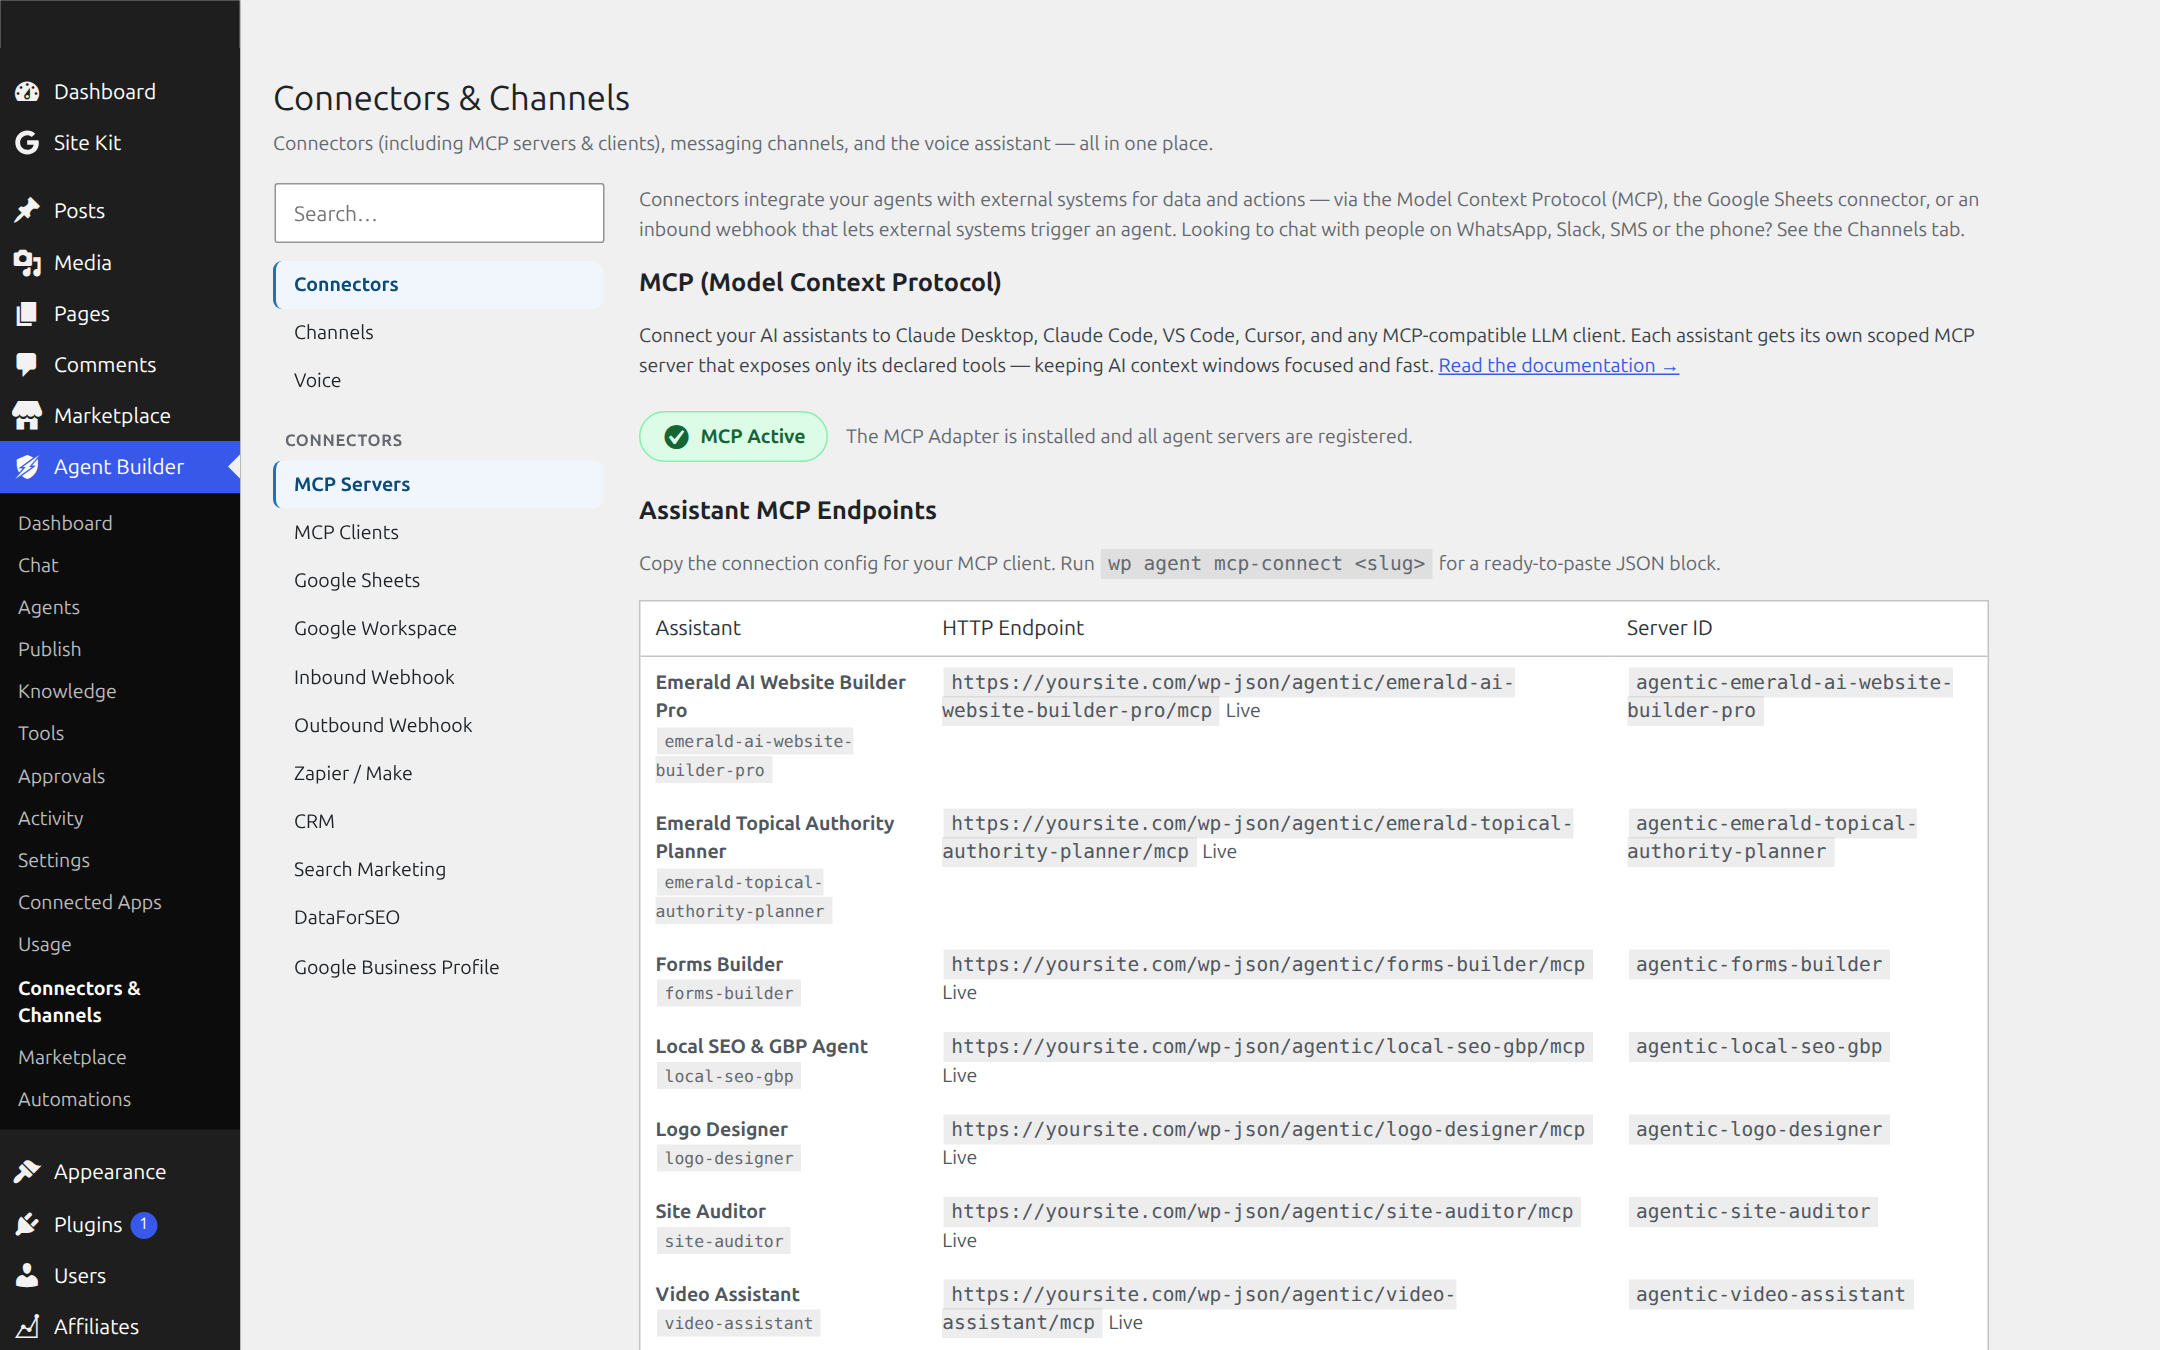
The Model Context Protocol (MCP) lets Claude.ai, Claude Desktop, Cursor, VS Code, and any other MCP-compatible AI client connect directly to your WordPress site and use your AI agents’ tools. Instead of one flat list of 261 tools, each agent gets its own scoped view — so the AI client only sees the tools relevant to what it is doing. Connections are secured with OAuth 2.0: no passwords, no application passwords, and you can revoke any connected app with one click.
What MCP Unlocks
- Use your agents from Claude.ai — add your site as a custom connector and chat with your Content Writer, SEO Optimizer, or Support Triage agents right inside Claude.
- Use your agents from your development environment — query, create, and edit WordPress content without leaving Cursor or VS Code.
- Scoped tool sets — each agent exposes only its declared tools, keeping context windows focused and write access contained.
- OAuth 2.0 security — standards-based authorization with discovery endpoints, scoped tokens, and one-click revocation.
Requirements
- Agent Builder 3.0 or later
- A Personal or Agency license — MCP is a licensed feature
- Agent Builder MCP companion plugin (install from the marketplace)
- WordPress 6.4+ on HTTPS
- An MCP-compatible client: Claude.ai, Claude Desktop, Cursor, or VS Code
Step 1 — Install the Agent Builder MCP Companion Plugin
The companion plugin turns your site into an OAuth 2.0 authorization server with MCP endpoints. Agent Builder detects it automatically the moment it is activated.
- Download Agent Builder MCP from the marketplace.
- Go to Plugins → Add New → Upload Plugin and upload the zip.
- Activate it. A new Agent Builder → Connected Apps screen appears — this is where every authorized MCP client is listed and can be revoked.
Step 2 — Connect Claude.ai (Custom Connector)
- In Claude.ai, open Settings → Connectors and choose Add custom connector.
- Enter your site URL. Claude discovers your site’s OAuth endpoints automatically via the
.well-knowndiscovery document — no client ID or secret to copy. - Your browser opens your own site’s authorization screen. Log in (if needed), review the requested scope, and click Authorize.
- You land back in Claude with the connector active. Start a chat and ask Claude to use one of your agents’ tools.
Claude Desktop, Cursor, and VS Code follow the same pattern: point the client at your site’s MCP URL and complete the OAuth consent screen in the browser window that opens.
Step 3 — Manage Connected Apps
Go to Agent Builder → Connected Apps in your WordPress admin. Every client you have authorized is listed with its scope and grant date. Click Revoke to cut off an app’s access instantly — its token stops working immediately.
Your Agent Roster
Every installed agent is exposed through MCP. The free plugin bundles 8 agents, and Agent Builder Pro adds 9 specialists:
| Agent | Typical MCP use |
|---|---|
| Content Writer | Draft and edit posts without leaving your AI client |
| SEO Optimizer | Run audits, fix meta tags, review rankings |
| Site Health Sentinel | Check site status, errors, and updates |
| Support Triage | Review and answer customer questions |
| WordPress Assistant | General site administration tasks |
| User Assistant | Manage users and roles |
| Editorial Director | Plan and review content pipelines |
| Assistant Trainer | Train and refine your custom agents |
Custom and marketplace agents are exposed the same way — install one and it becomes available to your connected clients automatically.
Security Model
- OAuth 2.0 with discovery — clients find your endpoints via
.well-known; tokens are issued by your own site, not a third party. - Scoped tokens — a
readscope caps what the token can do even if the authorizing user is an administrator. Scope ceilings are enforced on every request. - Bearer validation — every MCP request carries a token that is verified before any tool runs.
- Instant revocation — revoke a client in Connected Apps and its access ends immediately.
- Consent screen — nothing connects without a human clicking Authorize on your own site.
Troubleshooting
My client can’t discover the OAuth endpoints
The .well-known URLs are registered by the companion plugin. Confirm Agent Builder MCP is active, then re-save permalinks (Settings → Permalinks → Save) to flush rewrite rules.
Authorization fails or loops
Your site must be on HTTPS and publicly reachable — security plugins that block unauthenticated REST requests or geo-block logins will interfere. Check that your license is active; MCP endpoints require a valid Personal or Agency license.
Connected but tools are missing or read-only
The token’s scope is the ceiling. Re-authorize with the broader scope if your client requested read-only, and confirm the authorizing WordPress user actually has the capabilities the tool needs.
An agent doesn’t appear in my client
Only installed agents are exposed. Install or enable the agent in Agent Builder first; marketplace agents appear automatically after upload and activation.